Tiled
A Tiled map could be a perfect candidate for our project and Cocos Creator has built-in support for it. After all, tiles are the perfect way to create a grid of nodes, in this map, there are just 50 * 50 tiles, so our matrix will be 50 * 50 nodes.
Tiled layers
├─ EnemySpawnPoints [object layer]
├─ Walkable [invisible layer]
├─ Cars
├─ Lights & Decorations
├─ Buildings
├─ Sidewalks
├─ North
├─ Est
├─ South
├─ West
└─ Background
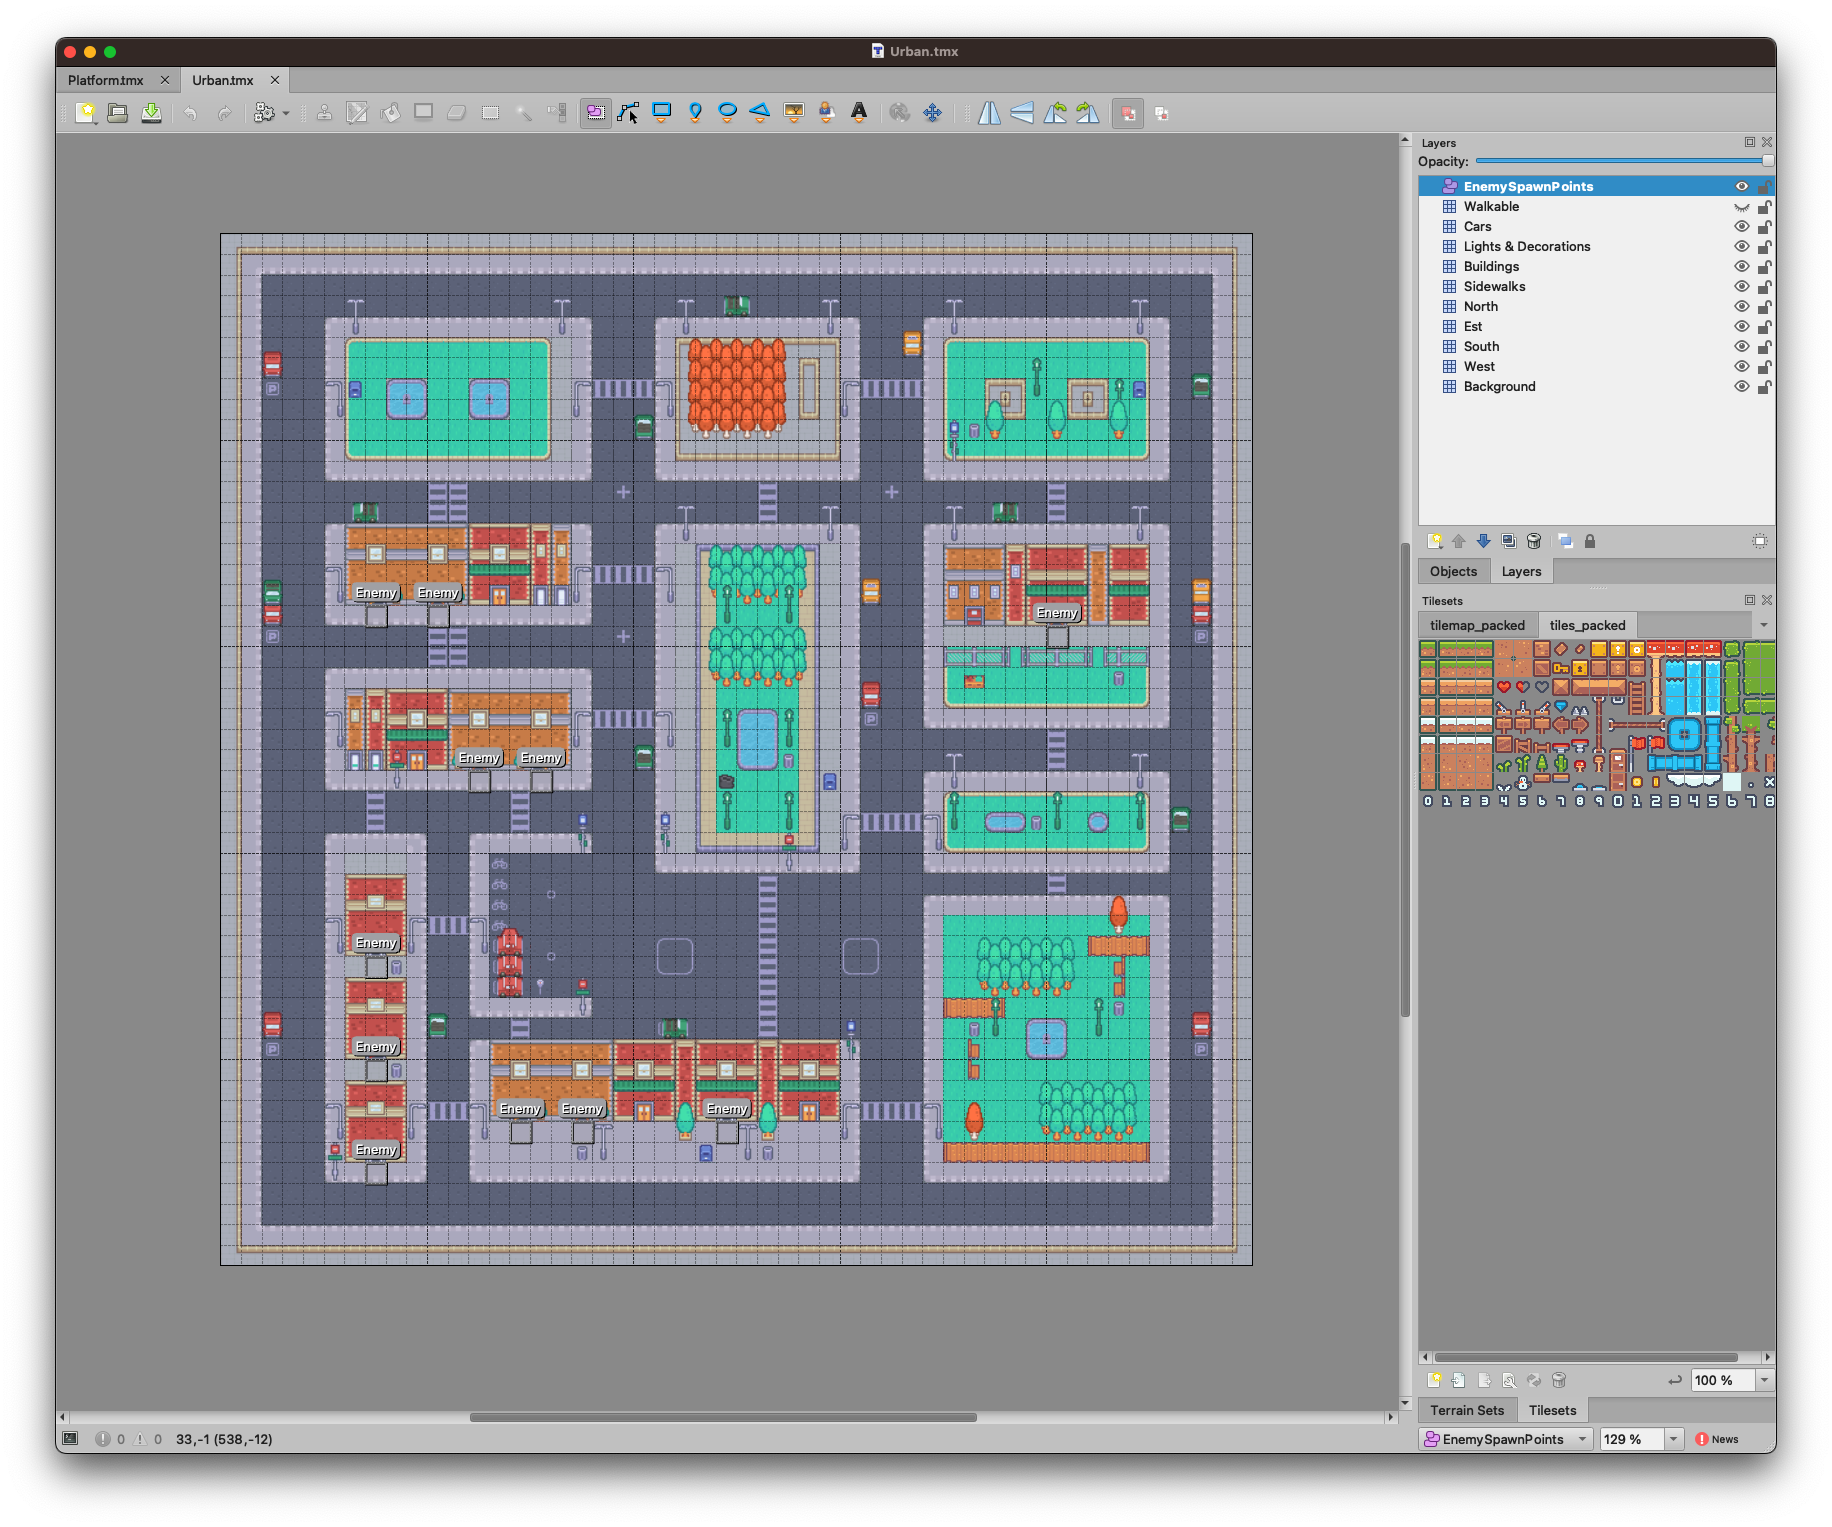
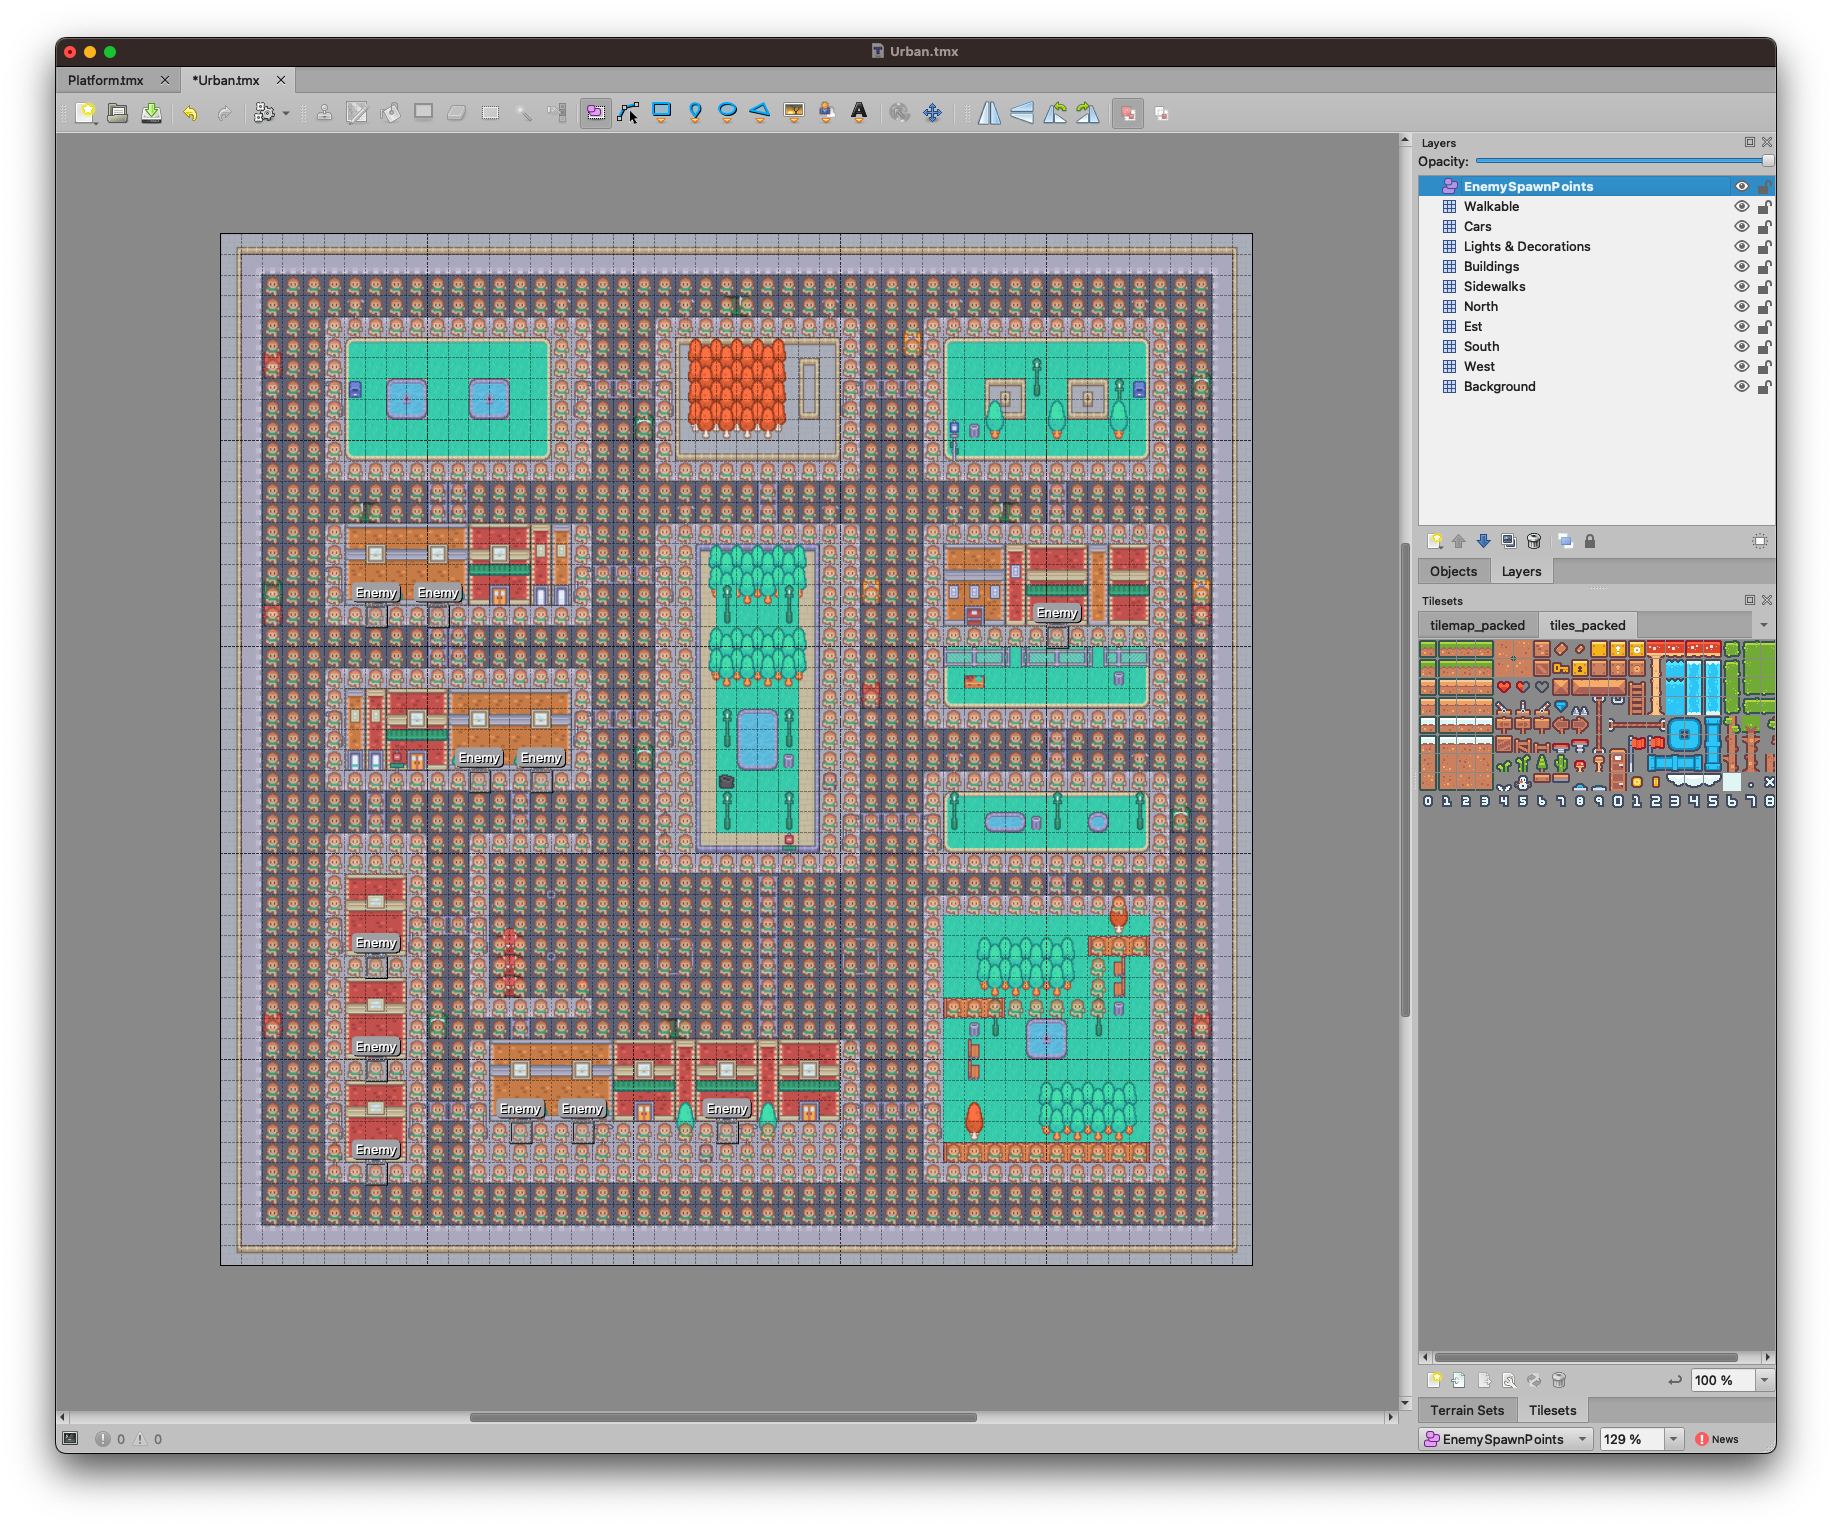
We need EnemySpawnPoints layer to get the coordinates of spawning areas, and the Walkable layer to get walkable tiles.
Now we need to create a script that will create the matrix of nodes and populate it with the data from the Walkable layer. We will call this script PathFinding and we will add it to the Enemy prefab.
The Pathfinding component
The first thing to do is to get the correct size of the tiled map. We will need it to convert tiles coordinates to pixel world coordinates.
  private _getLayerSize() {
    const uitransform = this._tiledLayerWalkableNode.getComponent(UITransform);
    this._tiledLayerBoundingBox = uitransform.getBoundingBox();
  }
Next, we need to get the size of a tile in pixels (for this project they are 16x16 pixels)
  private _getTileSize() {
    const { width: height } = this._tiledLayer.getMapTileSize();
    this._tileWidth = height;
    this._tileHeight = height;
  }
And the size of the layer in tiles (50x50 for this project)
  private _getTileLayerSize() {
    const { width, height } = this._tiledLayer.getLayerSize();
    this._matrixWidth = width;
    this._matrixHeight = height;
  }
Then we will create the matrix of nodes, as said we will assume that every node is an obstacle.
  private _createMatrix() {
    this._matrix = Array(this._matrixHeight).fill(BLOCKED).map(() => Array(this._matrixWidth).fill(BLOCKED));
  }
And we will iterate through the Walkable layer and check if at a given coordinates a tile exists, in this case, we set it as walkable.
  private _populateMatrixFromVerticesData() {
    const { vertices } = this._tiledLayer;
    // fill the matrix with the vertices
    for (let row = 0; row < vertices.length; row++) {
      if (vertices[row] !== undefined) {
        const cols = Object.keys(vertices[row])
          .map((key) => parseInt(key))
          .filter((predicate) => !Number.isNaN(predicate));
        for (const col of cols) {
          this._matrix[row][col] = WALKABLE;
        }
      }
    }
  }
Finally, we create the Pathfinding.js grid
  private _createGrid() {
    this._grid = new PF.Grid(this._matrix);
  }
That's all. Now we can add this script to the Enemy prefab so that the enemy will be able to find the path to the player. This script exposes a public method that returns the coordinates as Vec3 of the next point the enemy should walk to.
  public getNextPosition() {
    this._createPath();
    if (this.debug) {
      this.debugGraphic.clear();
      this._createMatrixDebug();
      this._createPathDebug();
    }
    const nextPosition = this._path[1];
    if (nextPosition) {
      const [x, y] = nextPosition;
      const position = this._convertMatrixPositionToPosition([x, y], true);
      return position;
    } else {
      console.log("no path");
      return null;
    }
  }
The Enemy prefab
The Enemy prefab is a simple sprite with a PathFinding component. It has a startMove method that will:
- Get the next position from the
PathFindingcomponent - Move to that position with a
tweenaction - Repeat when the tween is completed
  _startMove() {
    const position = this._pathFinding.getNextPosition();
    if (position !== null) {
      this._tween = tween(this.node).to(this.moveDuration, { position }, {
        onStart: () => {
          this._setDirection(this.node.getPosition(), position);
          this._animate();
        },
        onComplete: () => {
          this._startMove();
          this._animate();
        },
      }).start();
    }
  }
Here you can see how the enemy moves from the spawning point toward the player. The script has a debug property that will draw the path and the matrix on the screen.